How to upload a SCORM package to iSpring LMS
Open an iSpring LMS course, select Add → Upload, and choose the SCORM ZIP. The same product was formerly called iSpring Learn. These steps follow iSpring's upload guide. If you need a course to upload, see Honen for iSpring LMS.
Prepare the ZIP
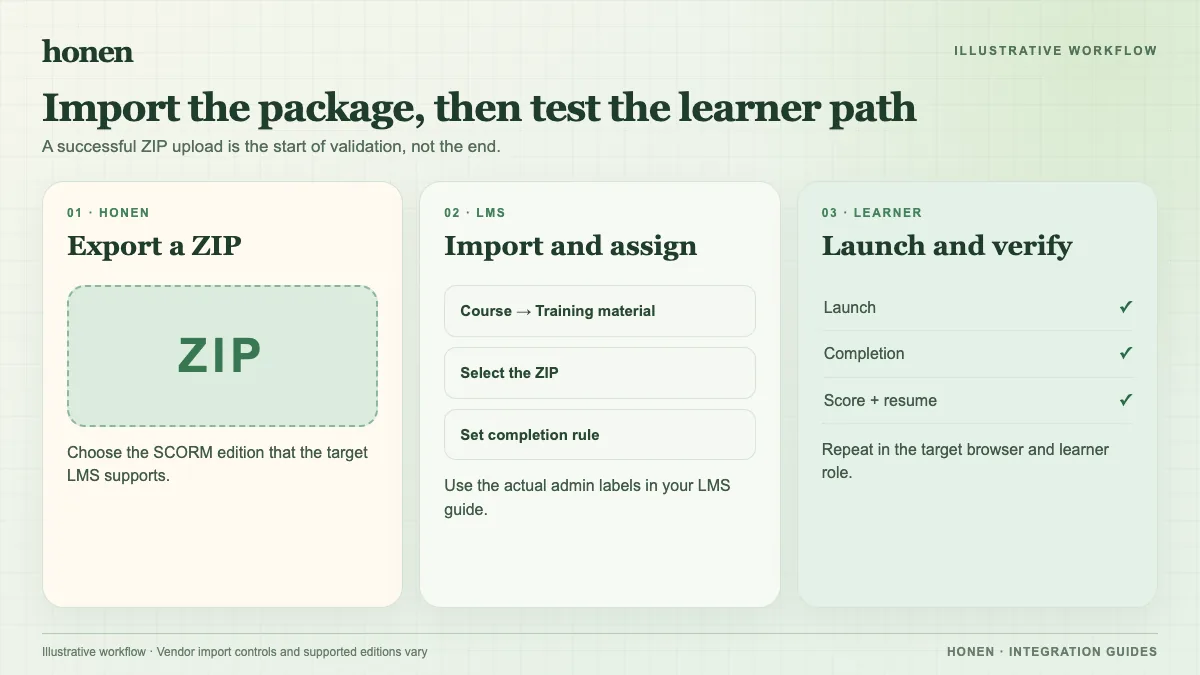
Export SCORM 1.2 or SCORM 2004 to match your course setup. iSpring lists a 3 GB maximum file size. Set a clear completion condition and a score rule if the course uses an assessment. Keep an original copy of your authoring source; the iSpring guide says uploaded SCORM packages cannot be downloaded again from the course.
Add the file
- Open the target course in iSpring LMS.
- Open the Add menu.
- Select Upload.
- Choose the SCORM ZIP on your computer.
- Change the suggested title if needed.
- Save the course content and test access.
Use the current tenant to confirm any additional settings. Do not treat an upload confirmation as proof that the package reports completion.
Test the learner result
Launch as a learner. Complete the final action. Exit the course normally. Check completion, score, and resume. SCORM data returns while the course is open. If the result is missing, check the package's completion rule and browser launch.
If Honen drafted the lesson, have a qualified editor check ASD-STE100 rules and approved terminology before upload. Use short sentences and one action per instruction. Repeat the review after a source change.
Next step
Use the iSpring LMS integration overview to plan updates. Read what a live SCORM package is for Honen's update model.
Related guides
Build with Honen
Create a course from your source material. Review the content. Deliver it through your LMS.
Book a demo